
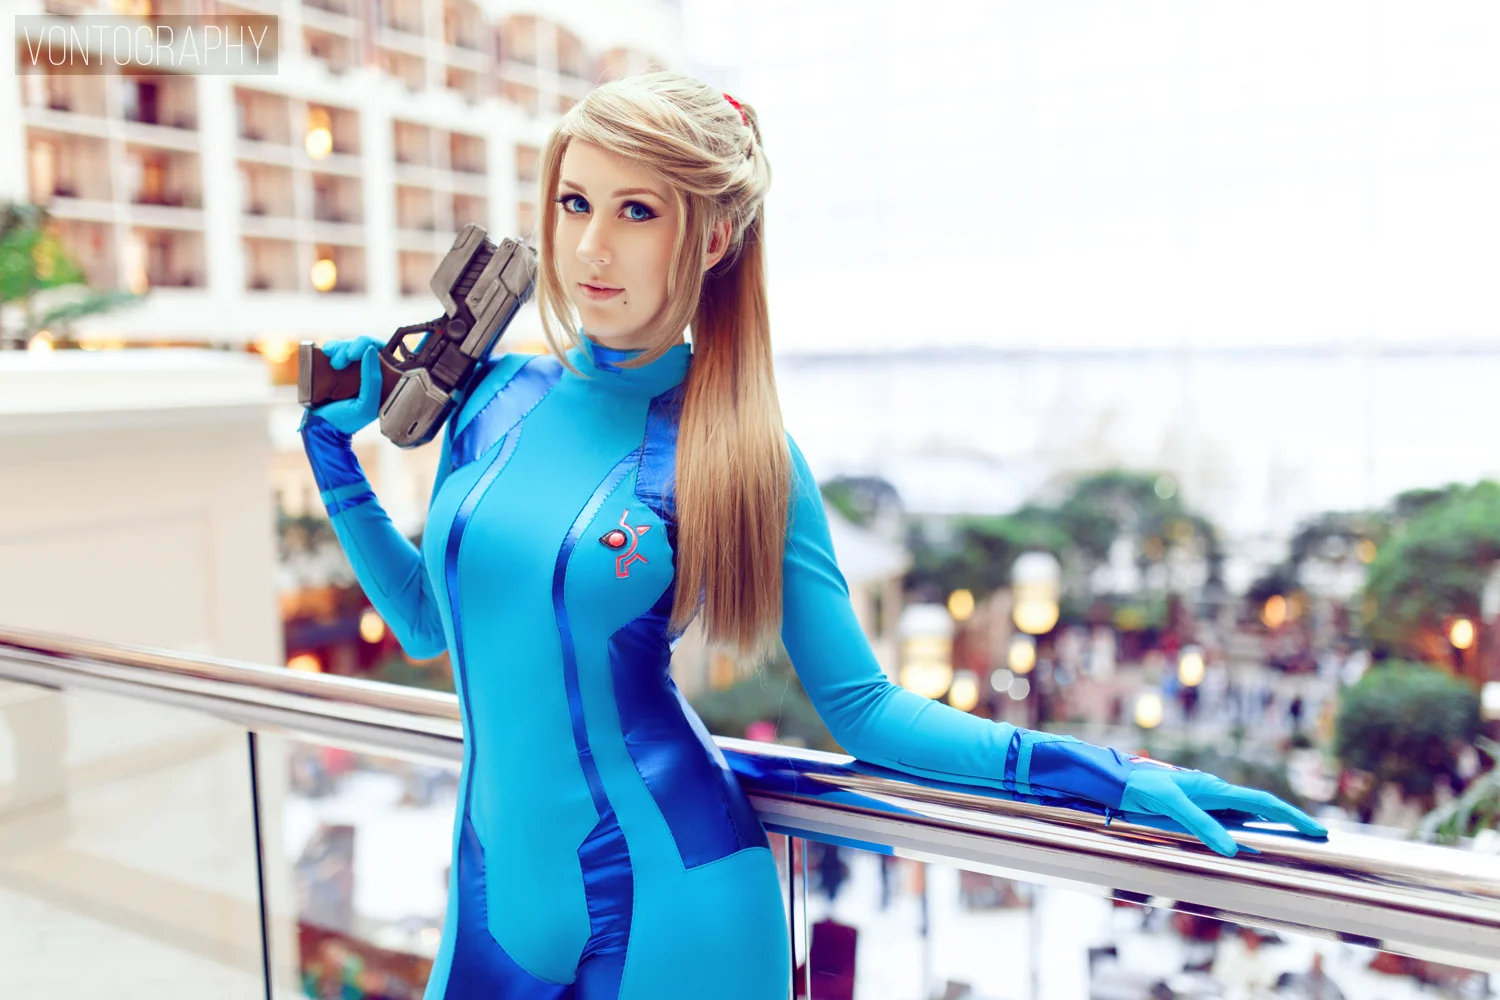
Zero Suit Samus
My Zero Suit Samus costume has survived through two iterations — a clean suit that I made and debuted in 2015, and a “distressed” version debuted in 2018.
During the fall of 2017, my house flooded with devastating effects on my costume collection. The Zero Suit was one of my favorite costumes prior to this, and it was heavily stained by the water. Instead of abandoning the suit, I contacted Harrison of Volpin Props and asked if he could help me re-imagine the costume as a battle-damaged version.
Source: Metroid videogame series
Debuted: August 2015
Awards: First Place Masters, Ikkicon 2016
Collaborators: Distressing by Volpin Props
Paralyzer gun made by Cute Monster Props
Samus 2.0 — battle damaged


Samus 1.0 — The Clean Suit


Materials
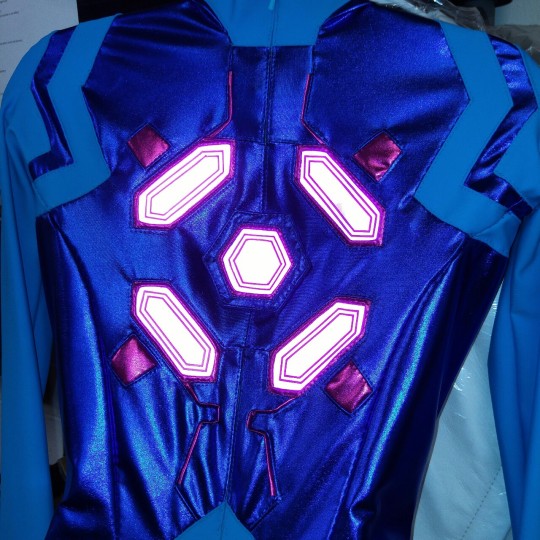
Retroreflective tape lit up by direct light
I chose a combination of matte and metallic spandex to construct the suit. I love metallics, but I thought metallic-on-metallic would lose too much of the contrast between them. This heavy matte spandex is also much more durable than the metallic, which has a delicate foil surface. I also love the way that the matte base color makes the shiny metallic pop. Contrasting textures can add a lot of depth to a costume.
The pink panels on the back, left hand, and bust are made with retroreflective tape that I purchased from conspicuity.us. This is the stuff used in safety jackets and athletic wear, which is designed to reflect light and attract attention. I think it photographs even more vibrantly than EL tape would have, and the reflective quality makes it eye-catching and distinctly shiny even when compared to the pink metallic spandex accents.
The pink reflective panels have vinyl decal overlays to provide a little more detail. The thin borders on the back panels, as well as the screw attack design on the left hand, are essentially small custom vinyl stickers. I designed these digitally and had them cut on a vinyl cutter. They block the light reflected by the retroreflective tape, so they photograph either as hot pink or as a silhouette depending on the strength of the light reflected.
Patterns
I started out with a mockup which follows Yaya Han’s Ultimate Bodysuit pattern (which I reviewed yesterday!) and customized it considerably. After tailoring the base suit to my body, I drew guidelines onto the suit where I wanted to place new seam lines, then cut along those lines. This became the pattern for the final version of the suit.
The shoe and glove patterns were made by myself. I did a small tutorial on the construction of the shoe covers, which were attached to the base shoes with Heat n’ Bond. The gloves were made with the popular “hand turkey” method, which was sufficient for my needs.
Techniques

The Zero Suit has a lot of inset seams and corners, so being able to accurately execute them was crucial. I took the opportunity to write a tutorial for inset corners while making this costume. The back of the suit has lots of intersecting panels, borders, and piping, so I spent a long time in the planning stages to make sure that I could anticipate placement for everything.
One of the more unique aspects of the suit is the inclusion of invisible zippers along my forearms at the wrists. The gloves are permanently mounted onto the suit in order to accommodate the design, but the zippers serve as an escape hatch for my hands. They allow me to wiggle my hands out when I need to eat or take a break from the gloves. This was also an experiment that really paid off, and I’m sure I’ll use this trick again for other bodysuits which require attached gloves.
Accessories
The original wig I used for Samus is in the style “Jeannie” by Arda Wigs. The color is Dark Ash Blonde, which is darker than I originally envisioned for Samus, but I learned to love this color choice by the end. It’s a more natural shade than other available blondes, which tend to look bleached or brassy in photographs. The contrast between the wig and the suit colors also help to make it look lighter by comparison.
I did a lot of not-obvious work on the wig to reach its final style. I had to take in the wig cap to make it sit more tightly on my head, and I added wig clips around the entire hairline to keep it from slipping off. I stubbed the base wig, removed the plastic clip from the ponytail piece, and permanently stitched the ponytail onto the wig to keep everything into position.
Finally, my Paralyzer gun was commissioned from my friend Cute Monster Cosplay. He cast and painted this beautiful piece! I’m glad to have a gorgeous prop to accessorize all the work I did on the main costume.
Competing in a costume contest
I wore this costume in the Ikkicon 2016 cosplay contest, prior to the suit receiving “battle damage”. You can watch my entire day in the video below:
A behind-the-scenes look at competing in a cosplay contest. Follow me through getting into costume, presenting my work to the judges, and walking the stage!